

The sequence is essentially the same from the CD or floppies except for the lack of any prompts for the floppy disks when coming from the CD.
When this exercise is complete, the system will be rebooted and setup will continue in a graphical mode.
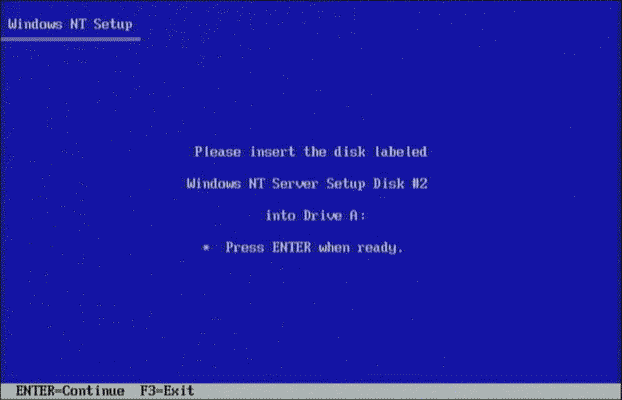 To start the process of installing NT, place setup disk 1 into the floppy drive and reboot the system. After a few moments it will prompt you for setup disk 2. Insert the disk and press enter.
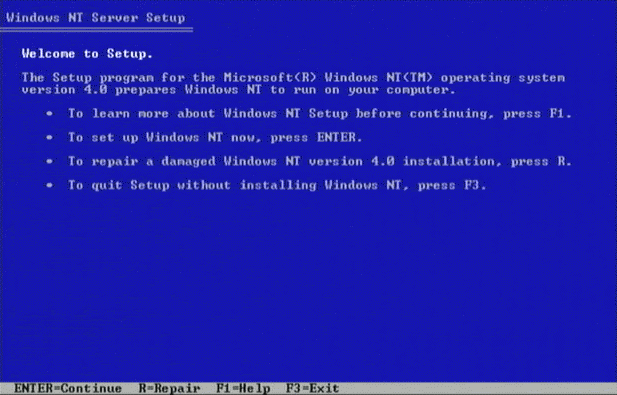 This is the welcome screen for setup. This is a very important screen. If this were a repair installation, you would press R at this screen. However we are doing a fresh install so we simply press Enter.
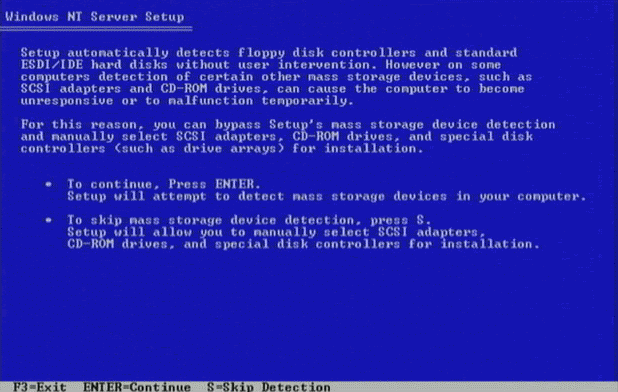 At this point NT has absolutely no idea what hardware is installed on your system. It needs to autodetect the hardware which is installed. This will take a few minutes. NT will load a lot of different drivers to see if those drivers can auto detect the hardware. As part of the process it will prompt you for disk 3 which contains the drivers.
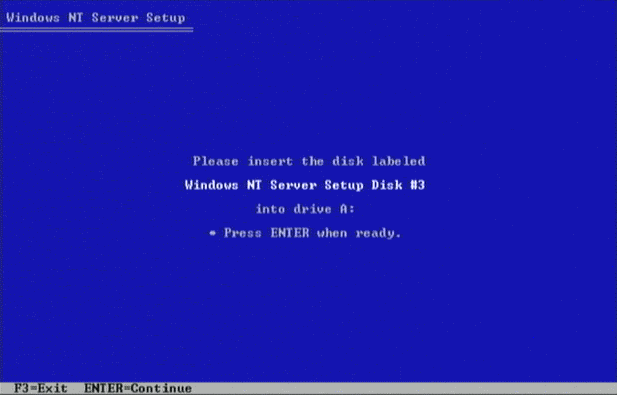 Insert disk 3 and press enter. NT will test for the various controllers and load the proper drivers.
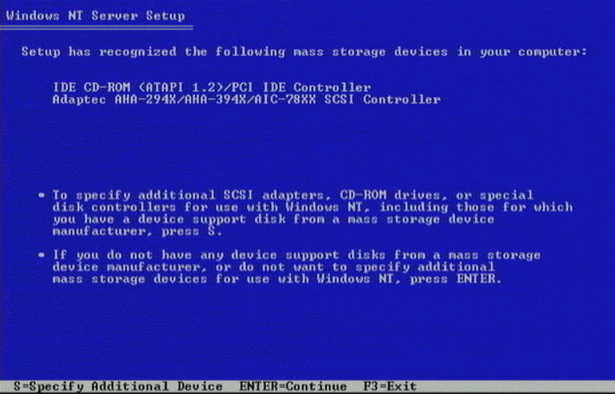 In this example, it has found an Adaptec SCSI controller and an IDE controller. Because the CD-ROM is connected via IDE, it will load the drivers for IDE.
Assuming that there are no other storage drivers needed, generally click on enter to continue. Drivers for the network cards will be loaded later in the process.
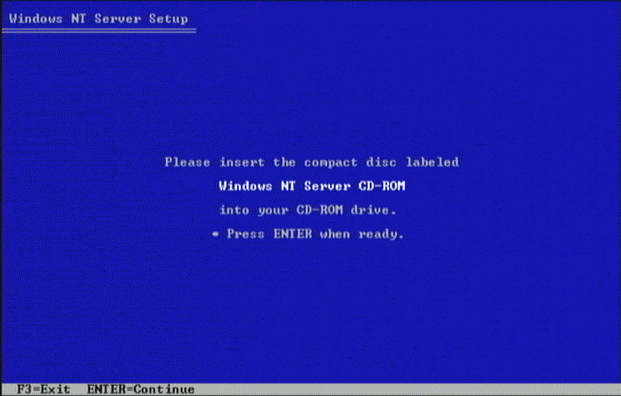 At this point NT has sufficient drivers to communicate with the CD-ROM so it continues its installation from the CD-ROM. Insert the CD-ROM and press Enter.
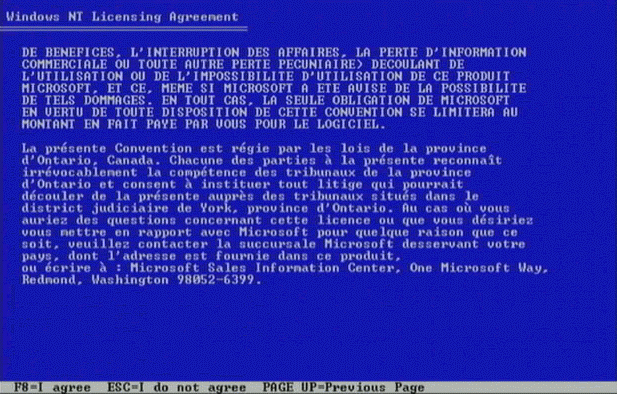 You must read the license agreement, pressing page-down for each screen. At the last screen you press F8 to accept the license agreement.
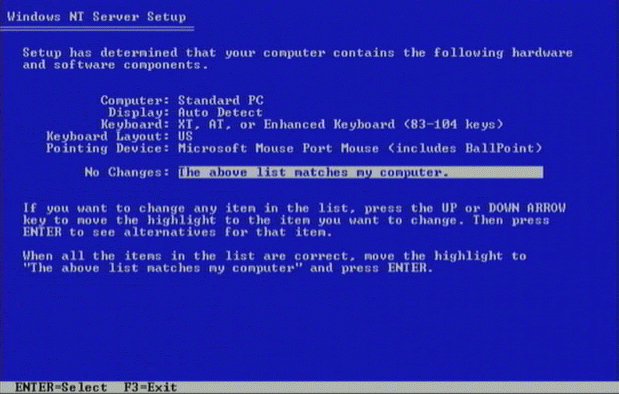 This screen simply verifies the basic hardware. Press Enter to continue.
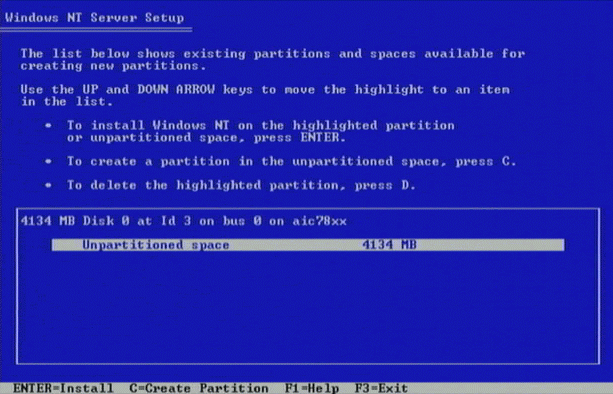 Given that we are starting from scratch, we must partition the disk. In our example, we will ultimately create two partitions on the disk.
You also might encounter this screen in the process of rebuilding a system. In that case you may need to delete and recreate partitions. Each situation will be different.
We press C to create a new partition.
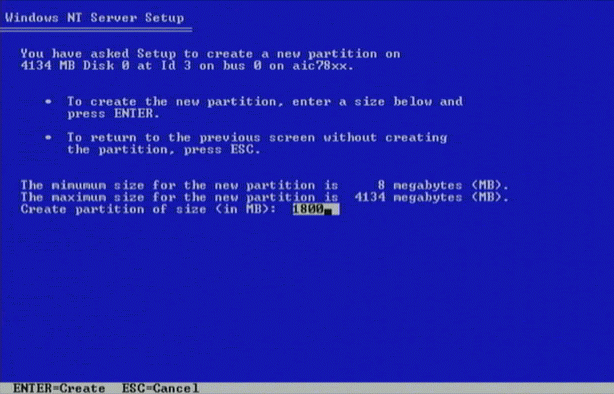 We now must specify the size of the C: partition. Initially, the C: partition must be below 2GB even though NTFS supports larger filesystems. The partition is initially formatted using FAT and then converted to NTFS as part of the install process. With NTFS, partitions can be increased in size as long as there is space available. Unfortunately, the size of the C: partition cannot easily be increased.
So we create an 1800 KB partition. Setting the partition size should only take a moment.
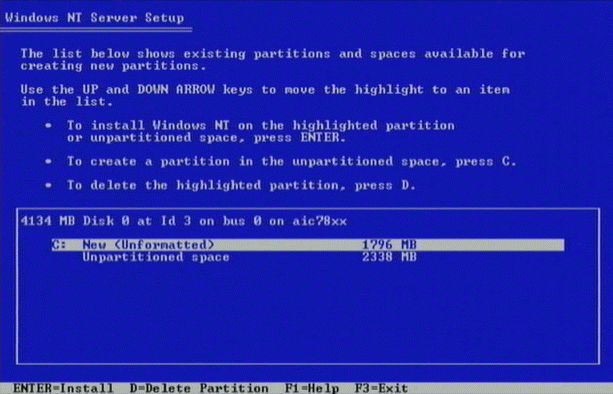 When the partition size is set, we are brought back to the partition screen. Now we simply press enter to install on the partition we just created.
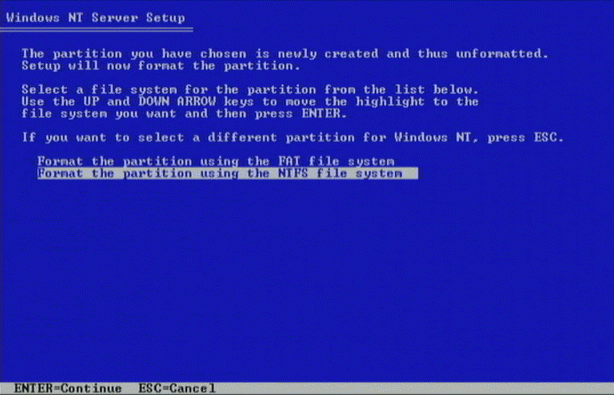 Now we will indicate that our C: partition will be formatted using NTFS. For a dedicated server there is no other choice. FAT is primarily used to allow dual booting between Windows-95 and Windows-NT.
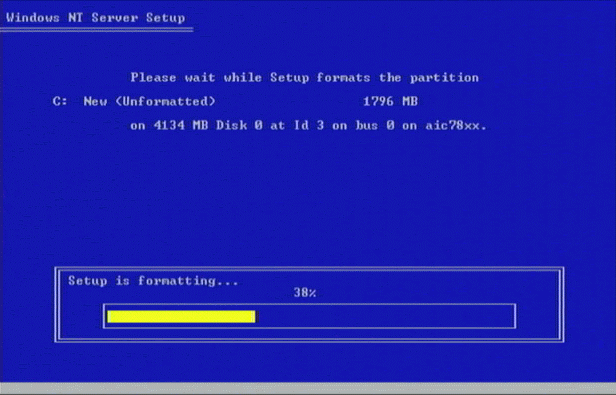 Formatting the disk will take several minutes..
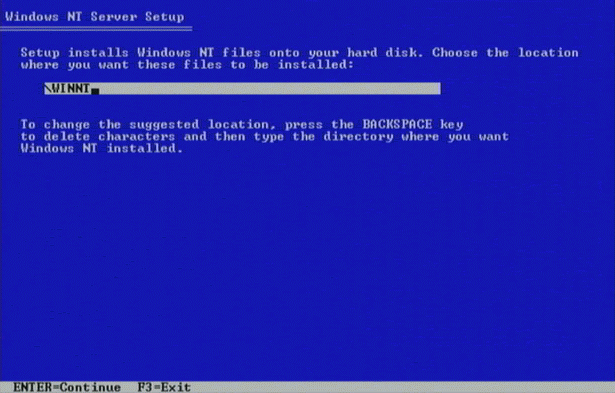 Next you select which directory the operating system will be loaded into. This is \WINNT for most installations so press Enter.
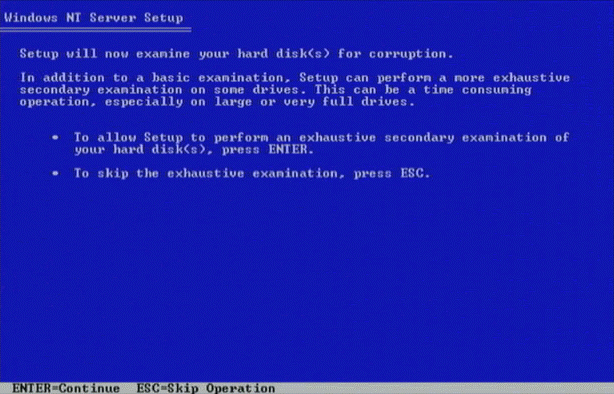 Setup will optionally check your drives for integrity. This step is often skipped by pressing ESC.
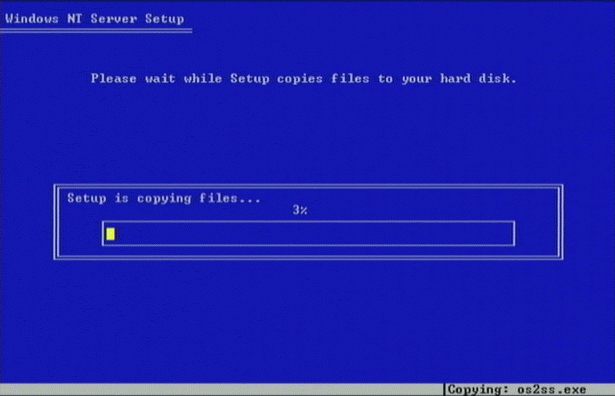 Then setup copies the files from the CD-ROM to the hard disk. This takes a couple of minutes unless you have a really slow CD-ROM.
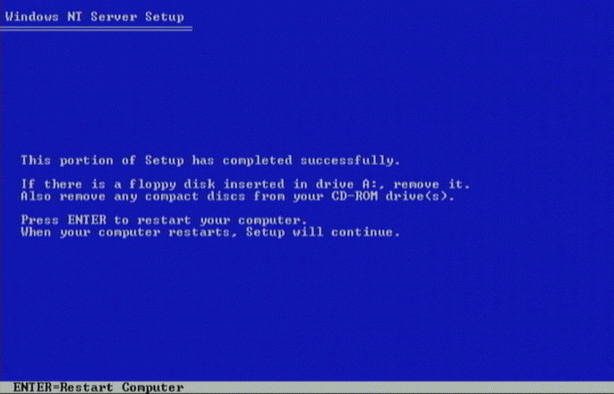 Once the copying is finished, you will reboot the system so that you can continue to setup Windows-NT with the graphical interface.