

There are three basic steps in this process:
We will reboot the system between each of the steps.
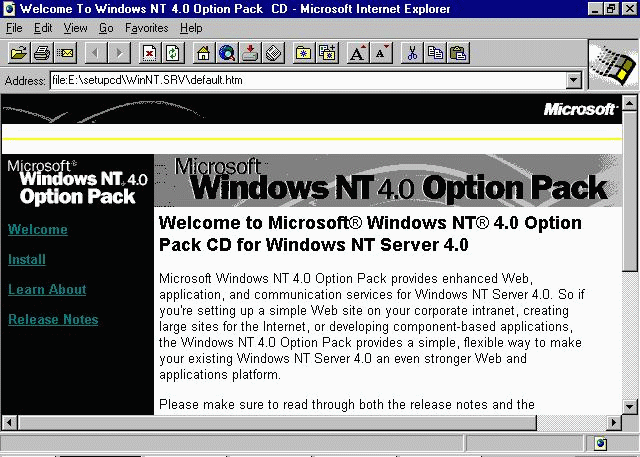 Insert the Microsoft Windows NT 4.0 Option Pack which comes with NT server
CD-ROM. It will either autostart or you will have to double click on the CD-ROM icon in My Computer.
Press Install
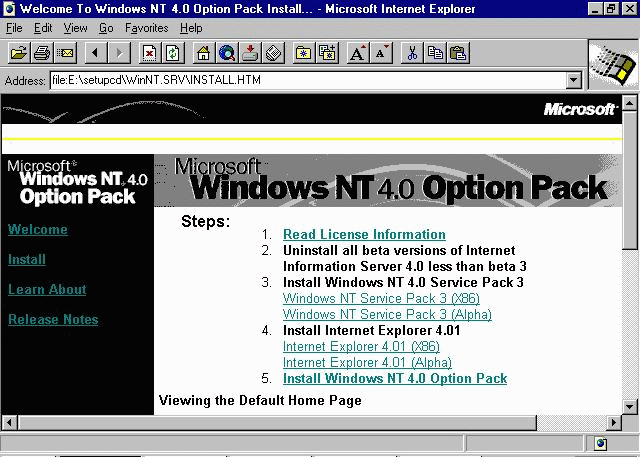 This install takes three steps because there are prerequisites to IIS 4.0.
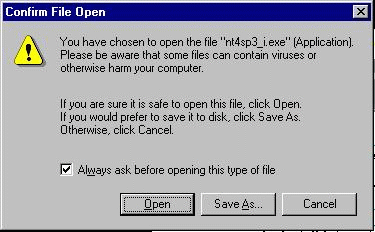 Because we are executing from a browser, there may be a couple of "security warnings". Just say Open
 The service pack installer will verify, then extract the service pack.
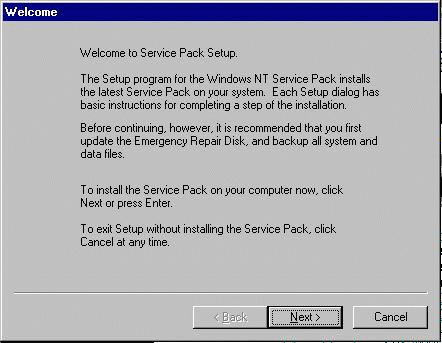 At this screen you only have one option - so press Next
 You must read and accept the end user license agreement.
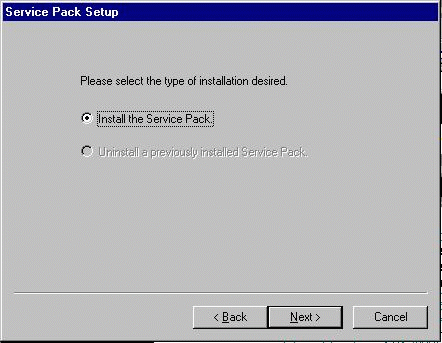 Because we are installing this service pack for the first time, we do not have the option to uninstall the service pack.
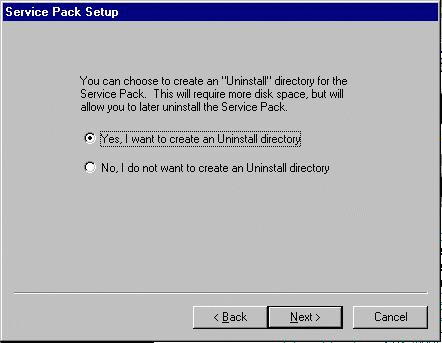 Now you are given the option to create an uninstall directory. This directory will be used to store the pre-service-pack-3 files. It is a good idea to create the backup directory.
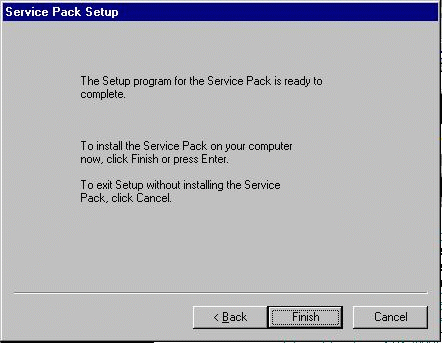 When you press Next, the service pack will be installed.
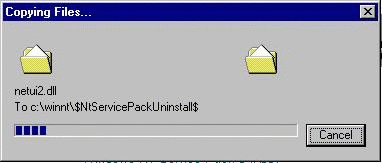 First the files to be changed are backed up to the uninstall directory.
 Then the new versions of the files are copied from the CD-ROM
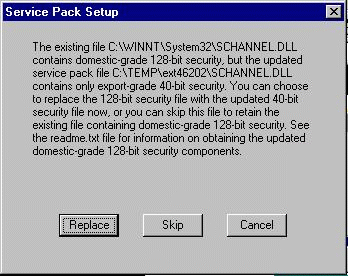 This dialog comes up because you have the 128-bit (more secure) North America security in your existing NT installation. The Service pack is an international version with weaker 40-bit security.
You should not replace the file, you should keep your old file so press Skip.
Note - we will get a new version of this file when we install the North American version of Service Pack 4 later in the process.
 We have reconfigured the system so - guess what - we have to reboot.
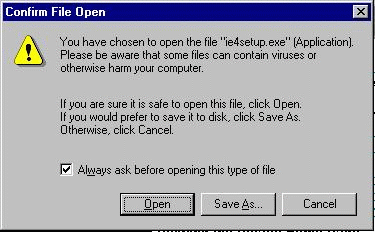 Again we navigate to the CD-ROM - then press Install in the initial screen. Then we select Internet Explorer (x86). Again, we get asked if this is OK with us, security wise.
 This is the welcome screen for IE4 setup.
 Again you have to accept the end-user license. (even the French parts). Press Next
and voila' we are at the installation option screen.
 At this screen we select the Standard option. Remember - this is a server not a workstation. We don't need a bunch of multimedia players and netmeeting clients.
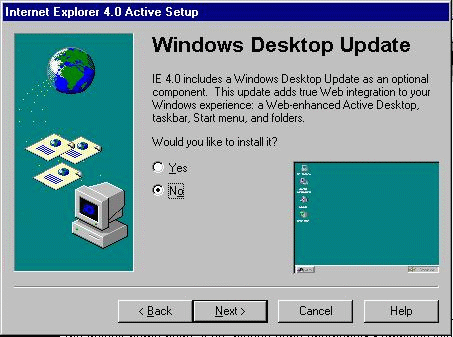 No, we don't want the ultra-slick windows desktop update. We are, after all, a server.
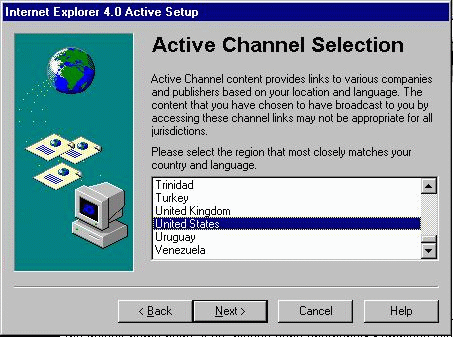 Even though we are a server, we select our country for active content.
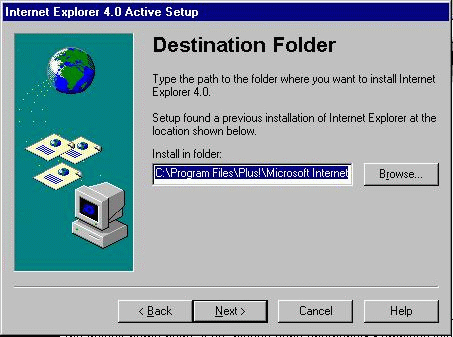 Generally it is safest to let the products install where they want to go. Once you click Next and installation will (finally) begin.
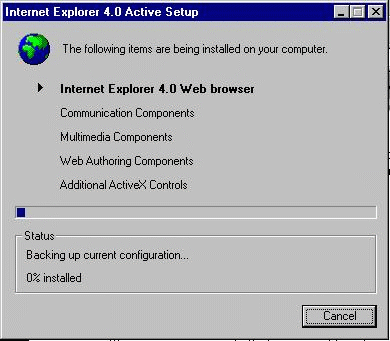 Installation takes several steps and can take a few minutes.
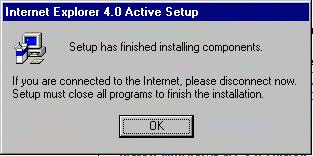 Setup closes all the open programs to perform its configuration. Next we will be rebooting so it is not a big deal to close all the programs.
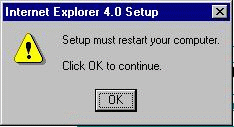 Again, we reboot to complete the Internet Explorer 4 installation.
Next up, the installation of IIS 4.0
 The first time you start IE4, you will be shown the Connection Wizard.
This is somewhat silly but only happens once.
 Select the option that the network is already set up, thank you.
 Finally we click Finish and never see this wizard again.
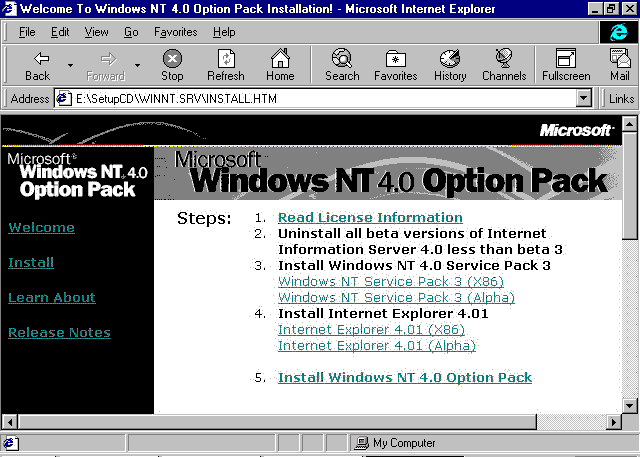 Again, navigate the CD-ROM to the install screen for the option pack. Now we execute the installation of IIS 4.0 (x86).
 Again we are prompted if it is OK to run the program.
You can check the box so it stops prompting you but that probably is not
a good idea (especially on a server).
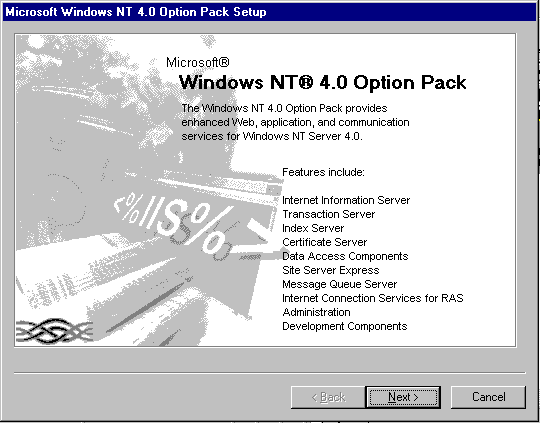 This is the welcome screen for IIS 4.0 setup.
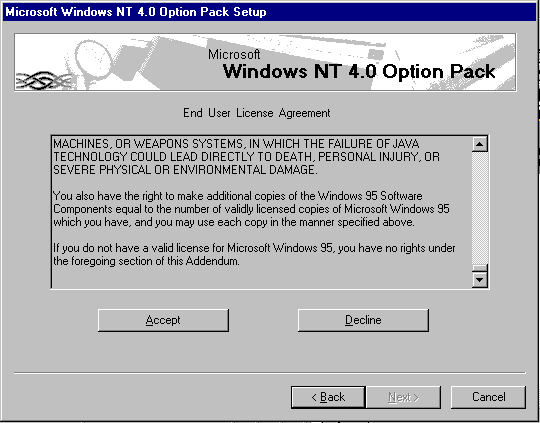 You must agree to the End User License agreement.
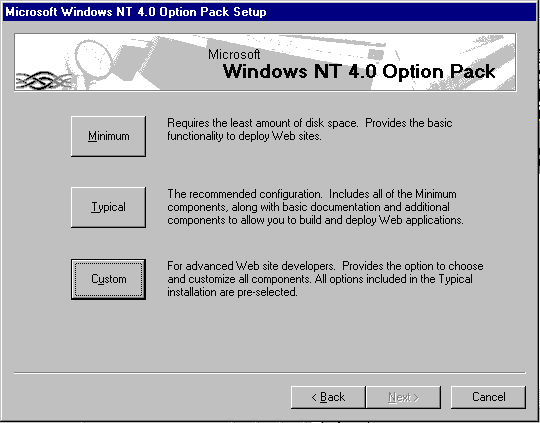 Select custom installation. We will alter some of the "typical" settings.
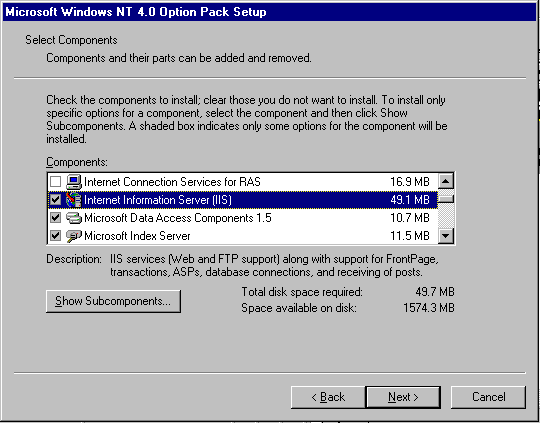 Navigate down through Internet Information Server (IIS) by selecting it and pressing Show Subcomponents.
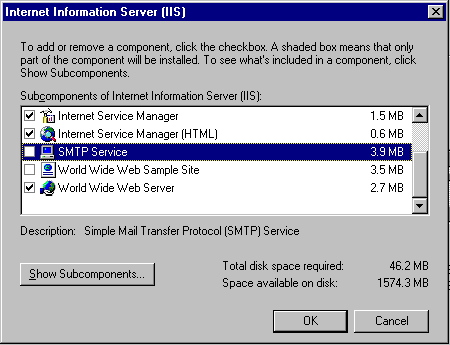 Uncheck SMTP Service and make sure the NNTP Services is also unchecked. Then press OK.
 After we have altered the settings, press Next.
 Switch the location for the web and FTP files to the D: drive.
If you are planning to use FTP as the exclusive mechanism for uploading web files, you might want to point the FTP and Web servers to the same directory.
 Leave the program files in their default location.
 A conservative choice is to have all administration be local. If the system will not be readily accessible you can designate an account to do remote administration - typically this is the Administrator account (unless you have renamed it).
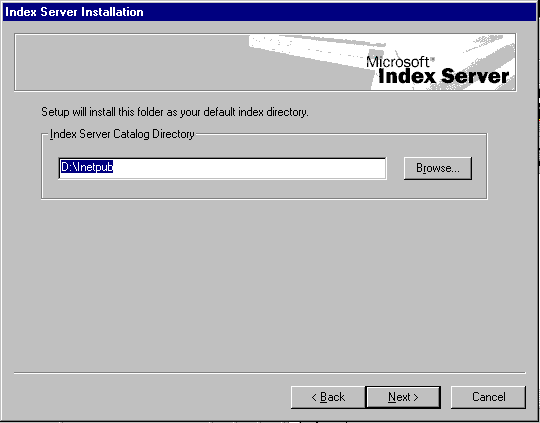 The index server indexes across multiple data sources. It will index across the FTP and Web directories. But you do need to switch it to D:. Once
you press Next on this screen, then installation will actually begin.
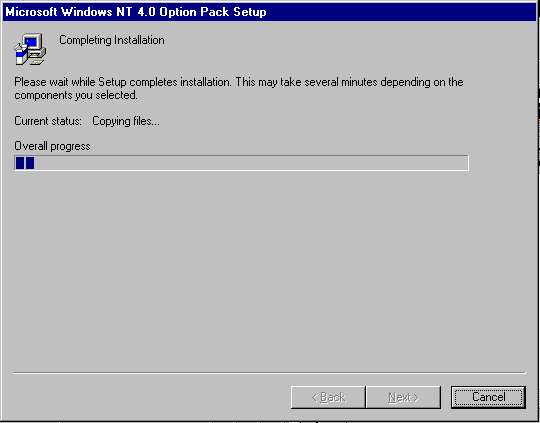 This installation takes some time. It may take around five minutes before it completes.
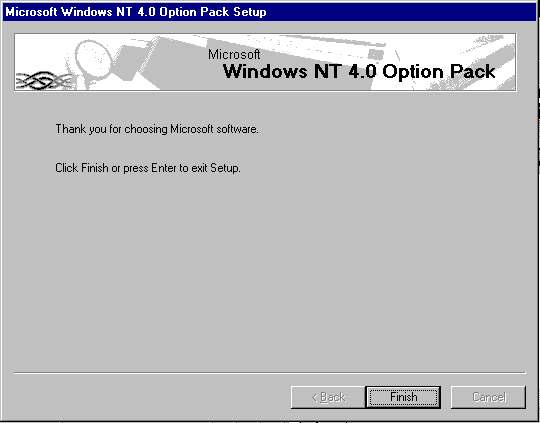 Press Finish
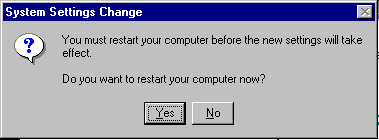 And you will have to reboot the system.