

In this exercise, we will install the server components to suport Visual Interdev 6.0. These components are extensions and upgrades to the IIS 4.0 and FrontPage98 Extensions to support the more sophisticated development environment used by VI 6.0.
If you do not perform this esxercise, you may have problems with some more sophisticated web software packages. One area which is upgraded is the javascript server side capabilities.
This exercise covers the server components of VI 6.0. A later exercise will cover the client components of VI 6.0.
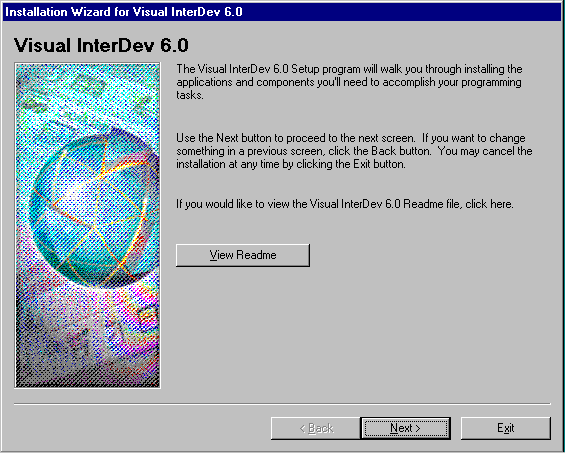 This is the splash screen for the Visual Interdev 6.0 installation. Thissame installation process is used for boith the server components and the client components of VI 6.0.
Press Next.
 Read the end-user license agreement, press Accept and followed by Next. But make sure to read it word for word now :)
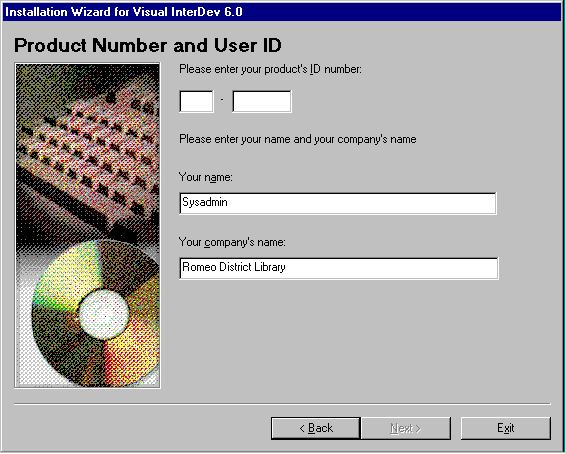 Enter your CD-Key, name, and organization name and press Next.
 In this step we will be installing the server components of Visual Interdev.
The server installation will add a few features
and update a few components within IIS 4.0.
If you have not yet installed IIS 4.0, this procedure will do a complete install of IIS 4.0 as well. In the example we are showing here IIS 4.0 has already been installed.
You may also encounter a message which says that VI 6.0 has not been tested to work with Service Pack 4.0. While only Microsoft can tell you that Service Pack 4 and VI 6.0 will work fine together, it is a pretty safe bet that there will be no problems.
That is a good reason to install the software and apply the service pack last. Hopefully, the service pack is the most up-to-date and is aware of any problems.
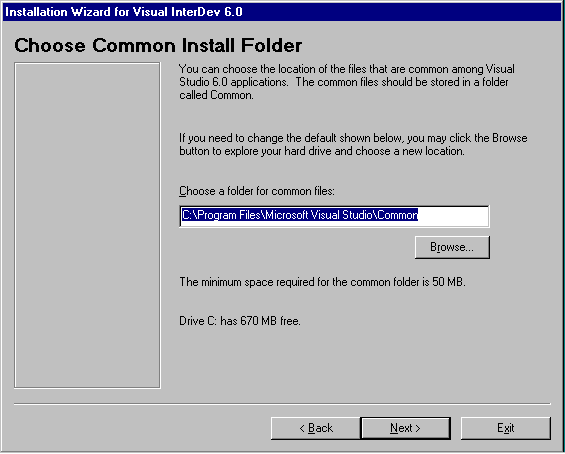 In general it is good to accept the default install folder.
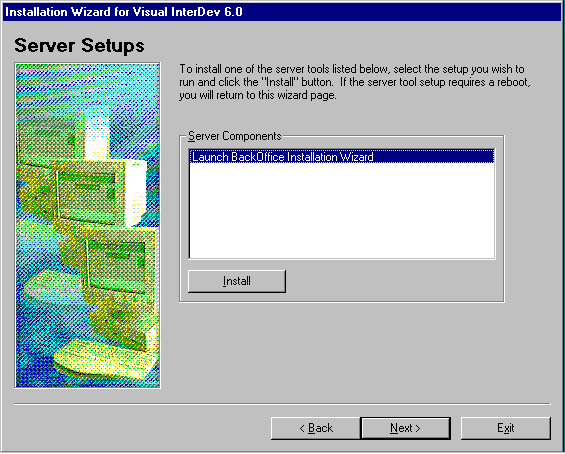 The components we are interested are part of BackOffice. We select Launch backOffice Installation Wizard and press Install (don't press Next).
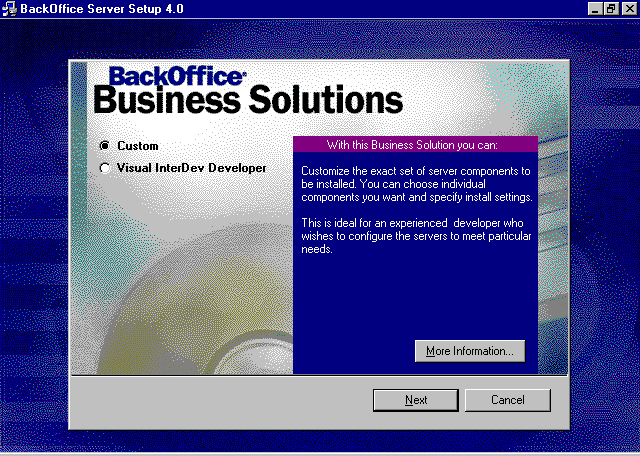 We will do a Custom installation. Even though we will not change any of the options, it is nice to see them.
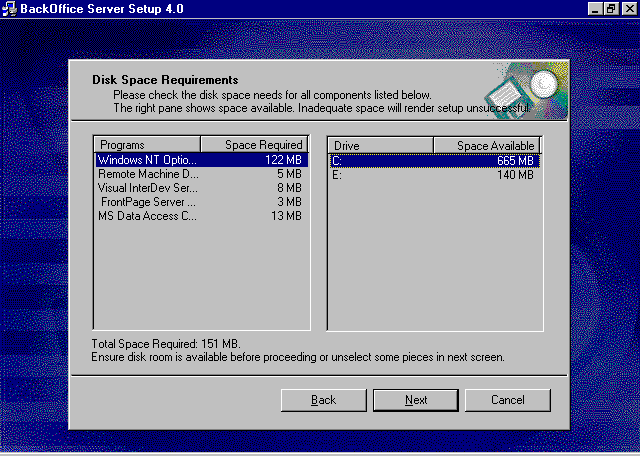 This screen is verifying that we have sufficient space for the components we need.
Hopefully in this day and age, with 16GB hard disks, space won't be a problem.
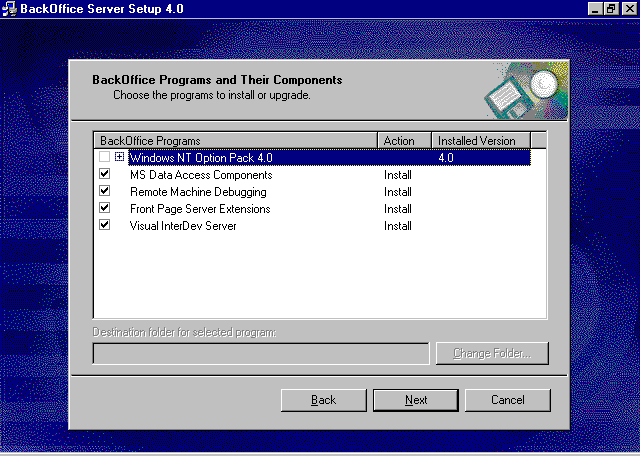 This is showing the components which will be installed.
The first component, NT Option Pack 4.0 has already been installed. This consists of IIS 4.0 and several other components. If these components were not installed, they would be installed at this time.
The last four components are what will be added during this install.
Press Next.
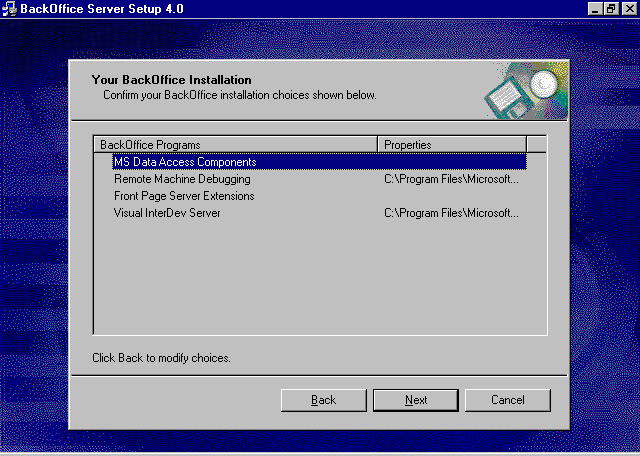 Just making sure! Press Onward.
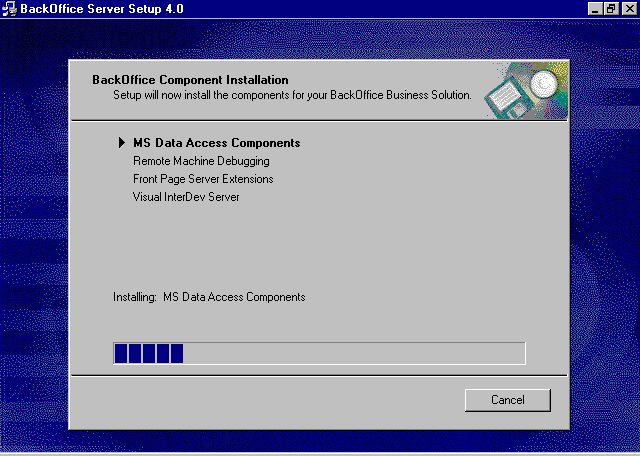 This installation actually takes some time. It might be a good time to get a cup of coffee. If you are installing IIS 4.0 at the same time, this phase can take 20 minutes. One wonders exactly what is going on for all that time?
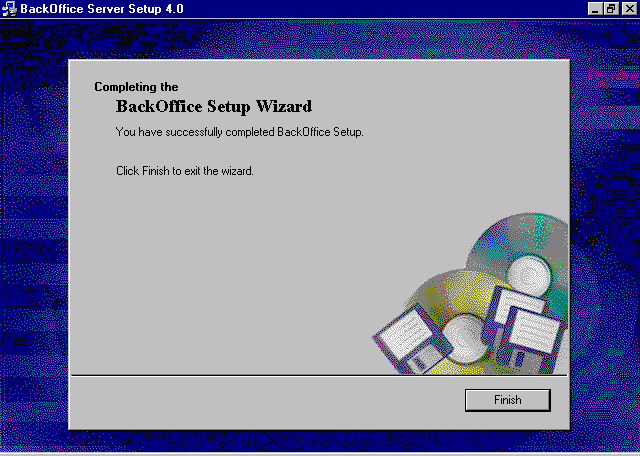 Press Finish.
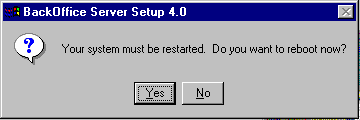 Big surprise, we need to reboot. After you reboot and log-in the data access components will be configured. Leav the CD-ROM in the drive.
 Once you log back in, the VI 6.0 setup program will come back to this screen.
We have already done the installation so don't select Launch Backoffice Instllation Wizard.
Instead chose Next.
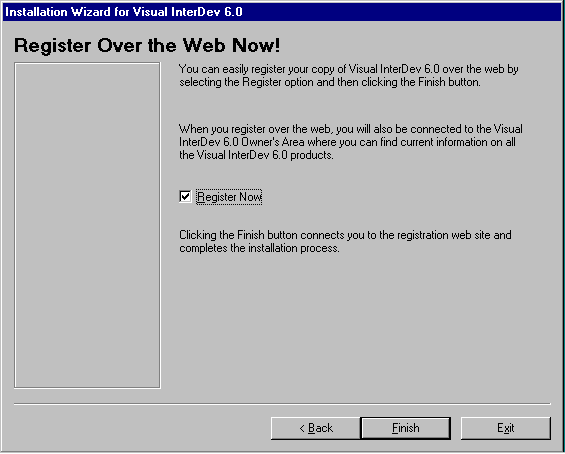 You can register your copy of Visual Interdev on-line using this screen.