

To access the tape, we must perform a minimal install, and then reload the tapes. There are subtle differences between our minimal installation and a standard installation. Those differences will be noted as we go through the exercise.
Like the initial installation, this installation is broken into two parts. The first part is the non-graphical installation from the floppies (or SCSI CD-ROM) and the second part is the graphical installation and configuration of the system.
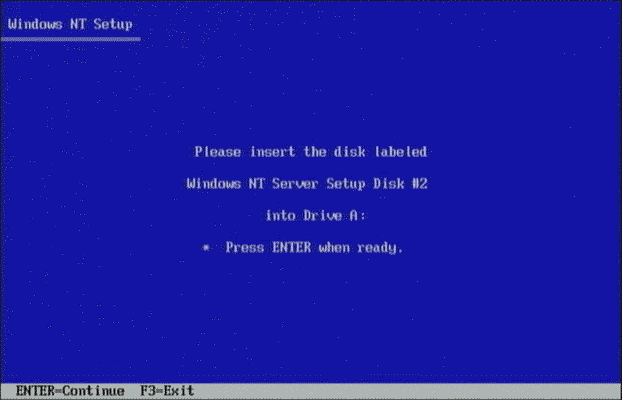 To start the process of installing NT, place setup disk 1 into the floppy drive and reboot the system. After a few moments it will prompt you for setup disk 2. Insert the disk and press Enter.
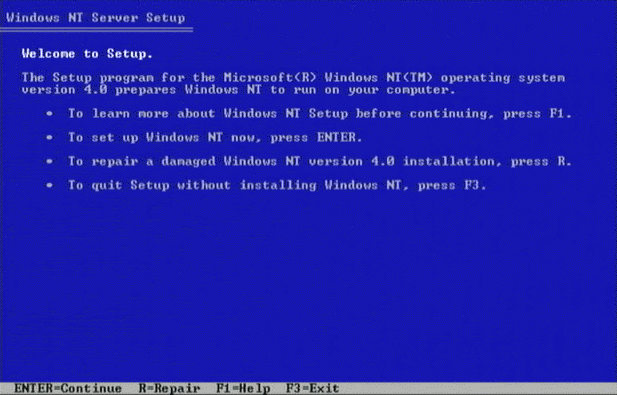 This is the welcome screen for setup. This is a very important screen. Even though we are "restoring", we are currently doing a fresh install so we simply press enter.
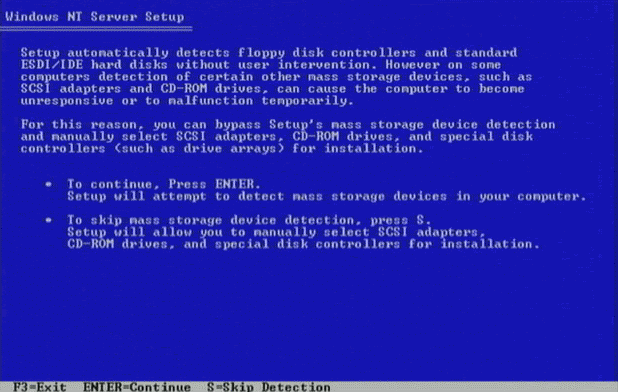 At this point NT has absolutely no idea what hardware is installed on your system. It needs to autodetect the hardware which is installed. This will take a few minutes. NT will load a lot of different drivers to see if those drivers can auto detect the hardware. As part of the process it will prompt you for disk 3 which contains the drivers. Insert disk 3 and press enter.
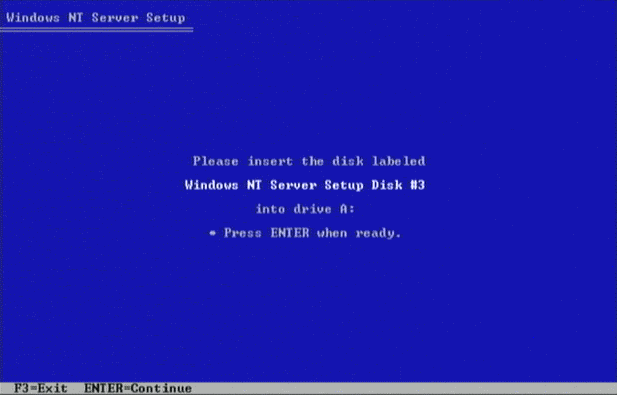 Insert disk 3 and press enter. NT will test for the various controllers and load the proper drivers.
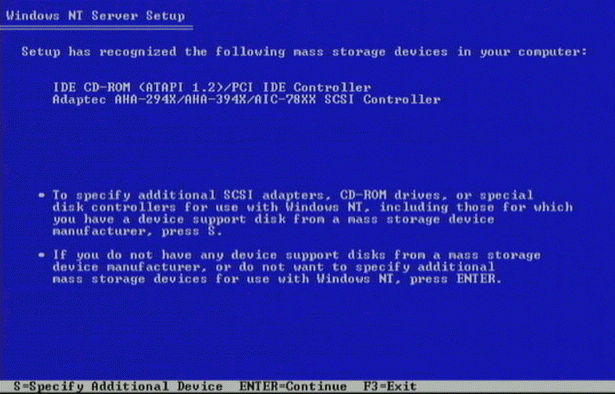 In this example, it has found an Adaptec SCSI controller and an IDE controller. Because the CD-ROM is connected via IDE, it will load the drivers for IDE.
Assuming that there are no other storage drivers needed, generally click on Enter
to continue.
 At this point NT has sufficient drivers to communicate with the CD-ROM so it continues its installation from the CD-ROM. Insert the CD-ROM and press Enter
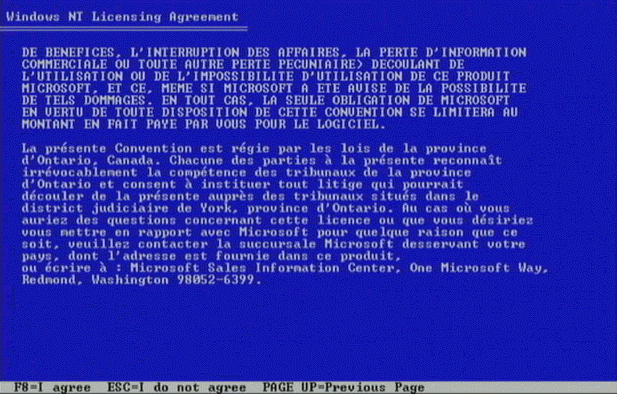 You must read the license agreement, pressing page-down for each screen. At the last screen you press F8 to accept the license agreement.
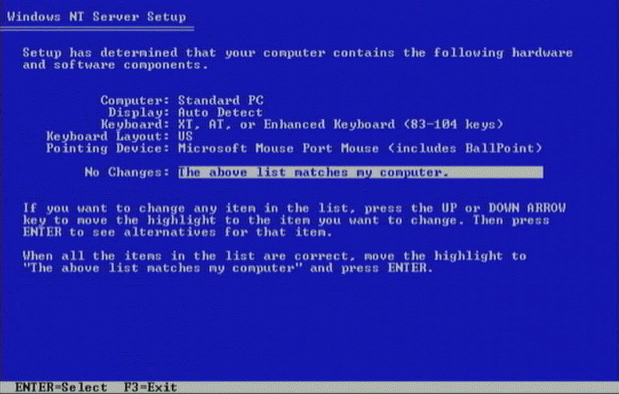 This screen simply verifies the basic hardware. Press Enter to continue.
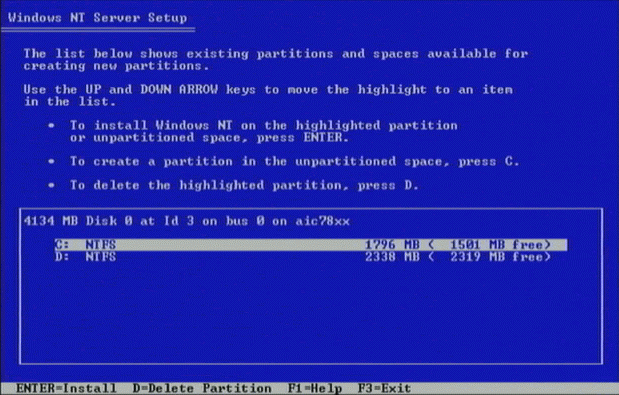 Because this is a completely configured system, we see two partitions (C: and D:). Even though it seems a terrible waste - first, we must delete these partitions. (Remember it is for science and education)
Select the first partition and press D.
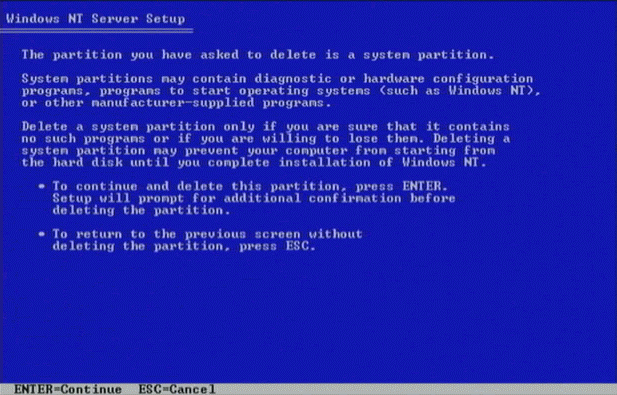 There is a bunch of dire warnings, but we will "press on" by pressing on the Enter key.
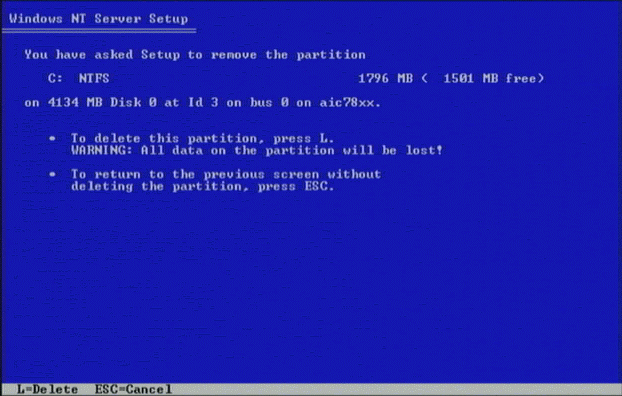 Still more dire warnings... In case the enter key is stuck, you need to press L to actually delete the partition.
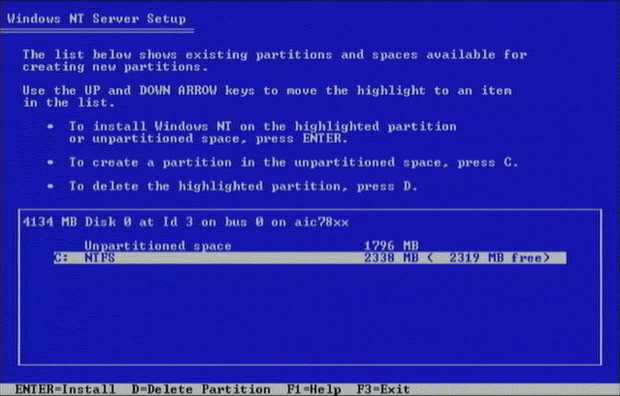 We must perform the same steps to delete the second partition.
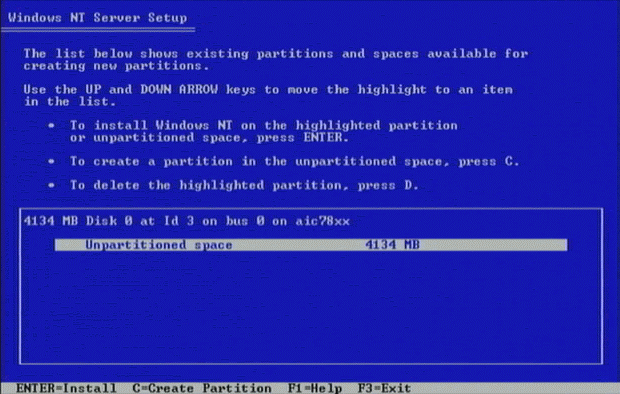 Now we have a "brand new" disk. Unlike the first time we installed NT, we will create both the C: and the D: partitions on the disk at this time.
You will find this approach makes things much simpler later. The drive letters will be correct from the beginning and the steps need to format D: will be much simpler. We did it the other way in the first exercise as an example.
We press C to create a new partition.
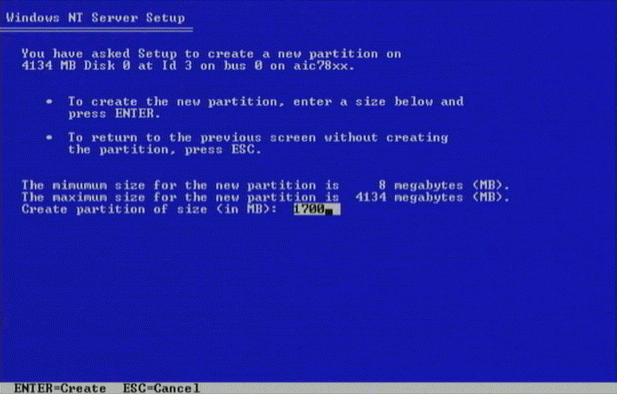 We now must specify the size of the C: partition.
So we create an 1700 KB partition.
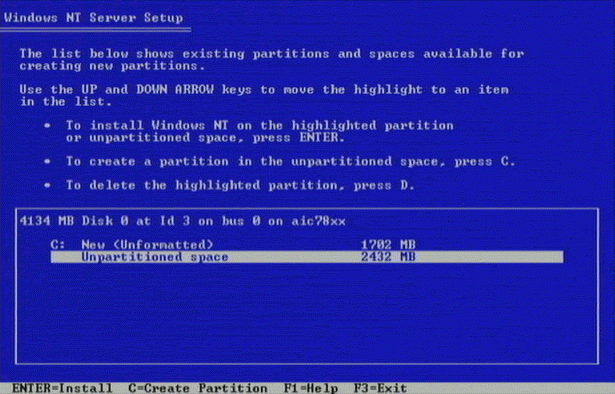 Now we cursor down to the second entry to create the second partition. Press Enter.
 It computes the remaining size available on the disk as a default. We accept the default and press Enter. Because this will be formatted later using the Disk Administration utility, it does not have to be less than 2GB.
Recall that the C: partition is initially formatted as FAT and converted to NTFS as part of a later Setup step.
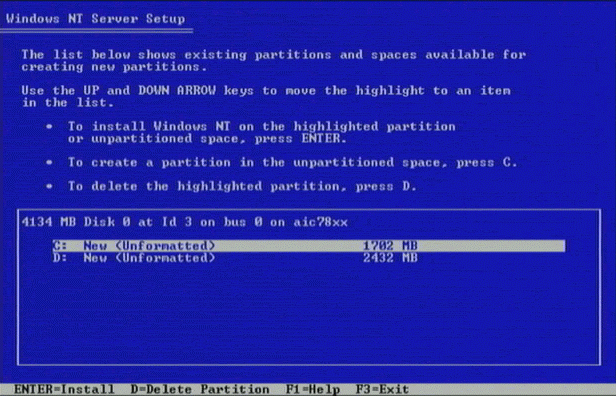 Now we see both partitions. Lets install an operating system on C:. This is done by cursoring to it and pressing Enter.
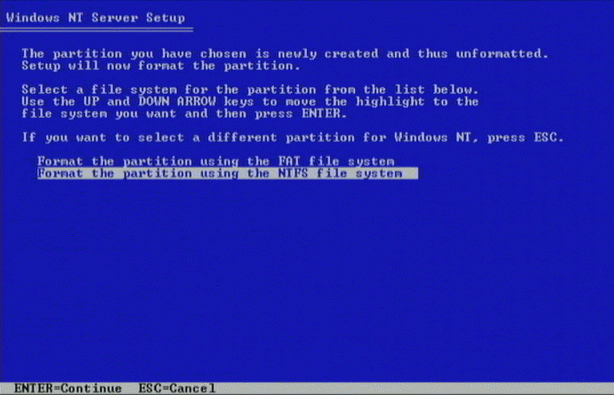 Now we will select that our C: partition will be formatted using NTFS. (Remember formatted as FAT, converted to NTFS)
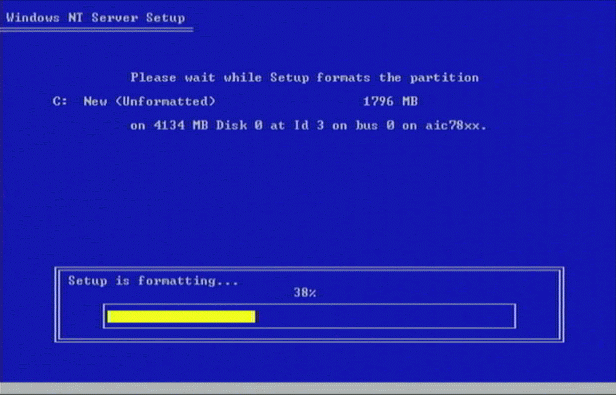 Formatting the disk will take several minutes..
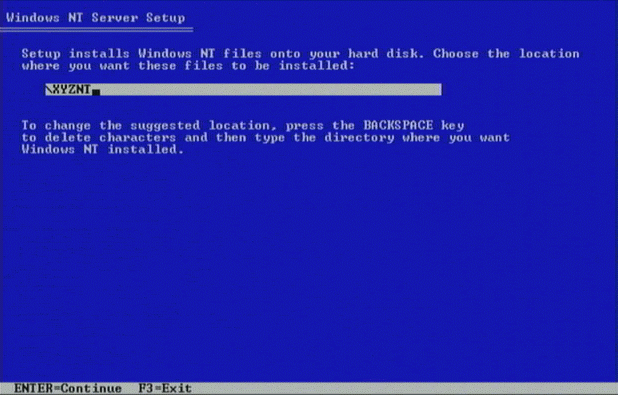 Next you select which directory the operating system will load into. We want this to be anything other than \WINNT. It will be deleted later in the process, so pick your favorite name.
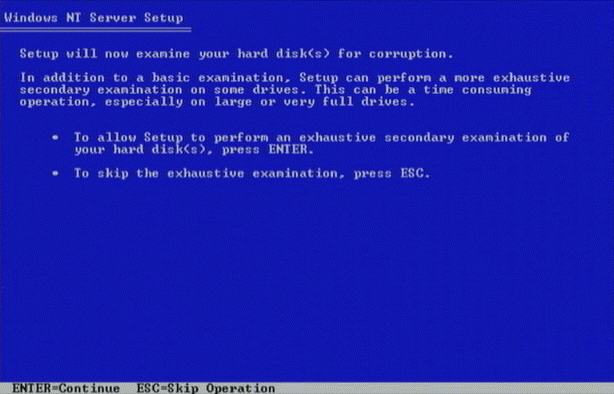 Setup will optionally check your drives for integrity. This step is often skipped by pressing ESC.
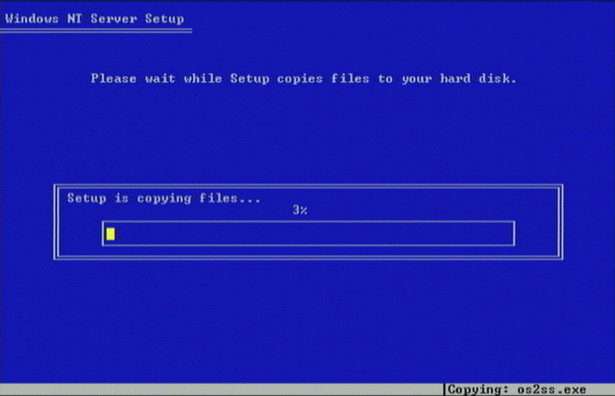 Then Setup copies the files from the CD-ROM to the hard disk. This takes a couple of minutes unless you have a really slow CD-ROM.
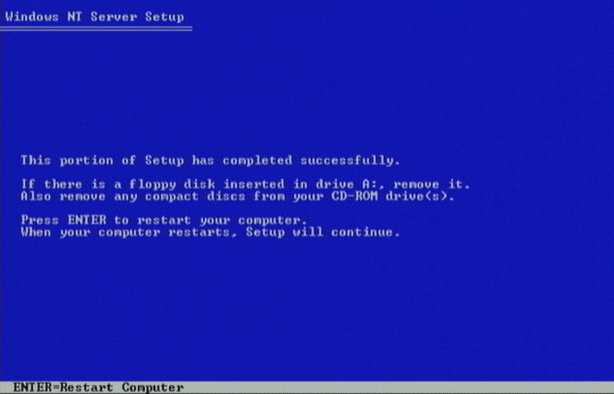 Once the copying is finished, you will reboot the system so that you can continue to setup Windows-NT with the graphical interface.